Wednesday, 17 October 2012

MCC All About Zentangle - Wk 3 Colour

Links: MCC (My Creative Classroom), Marie Browning

Black & white is the traditional format for a Zentangle tile & I certainly find it to be the format in which tangling can be carried out anywhere with a minimum of supplies. I also found that once colour is introduced the whole process becomes much more involved with the need to think about whether colours work with one another or not. There is also the added complication of whether various media are compatible with each oher - after a couple of tiles with black smudgy messes I discovered that the Letraset Fine Line Drawing Pen (Waterproof Non Fading Pigment Ink) bleeds when used in conjunction with the Tombow Blender Pen whereas the Sakura Pigma Micron (Archival Pigment Ink waterproof & fade proof) does not providing one allows it a few minutes to dry.

The whole ethos of Zentangle is one of lessening stress & I certainly find that there is a terrific freedom in not having to consider colouring aspects. However, the delight I have had in colour ever since I can remember remains unchanged. Understanding different media & colour theory still fascinates me & I've been amazed by the variety of techniques incorporating colour with tangling that Marie introduced us to. 

Tombow Markers Splash Background
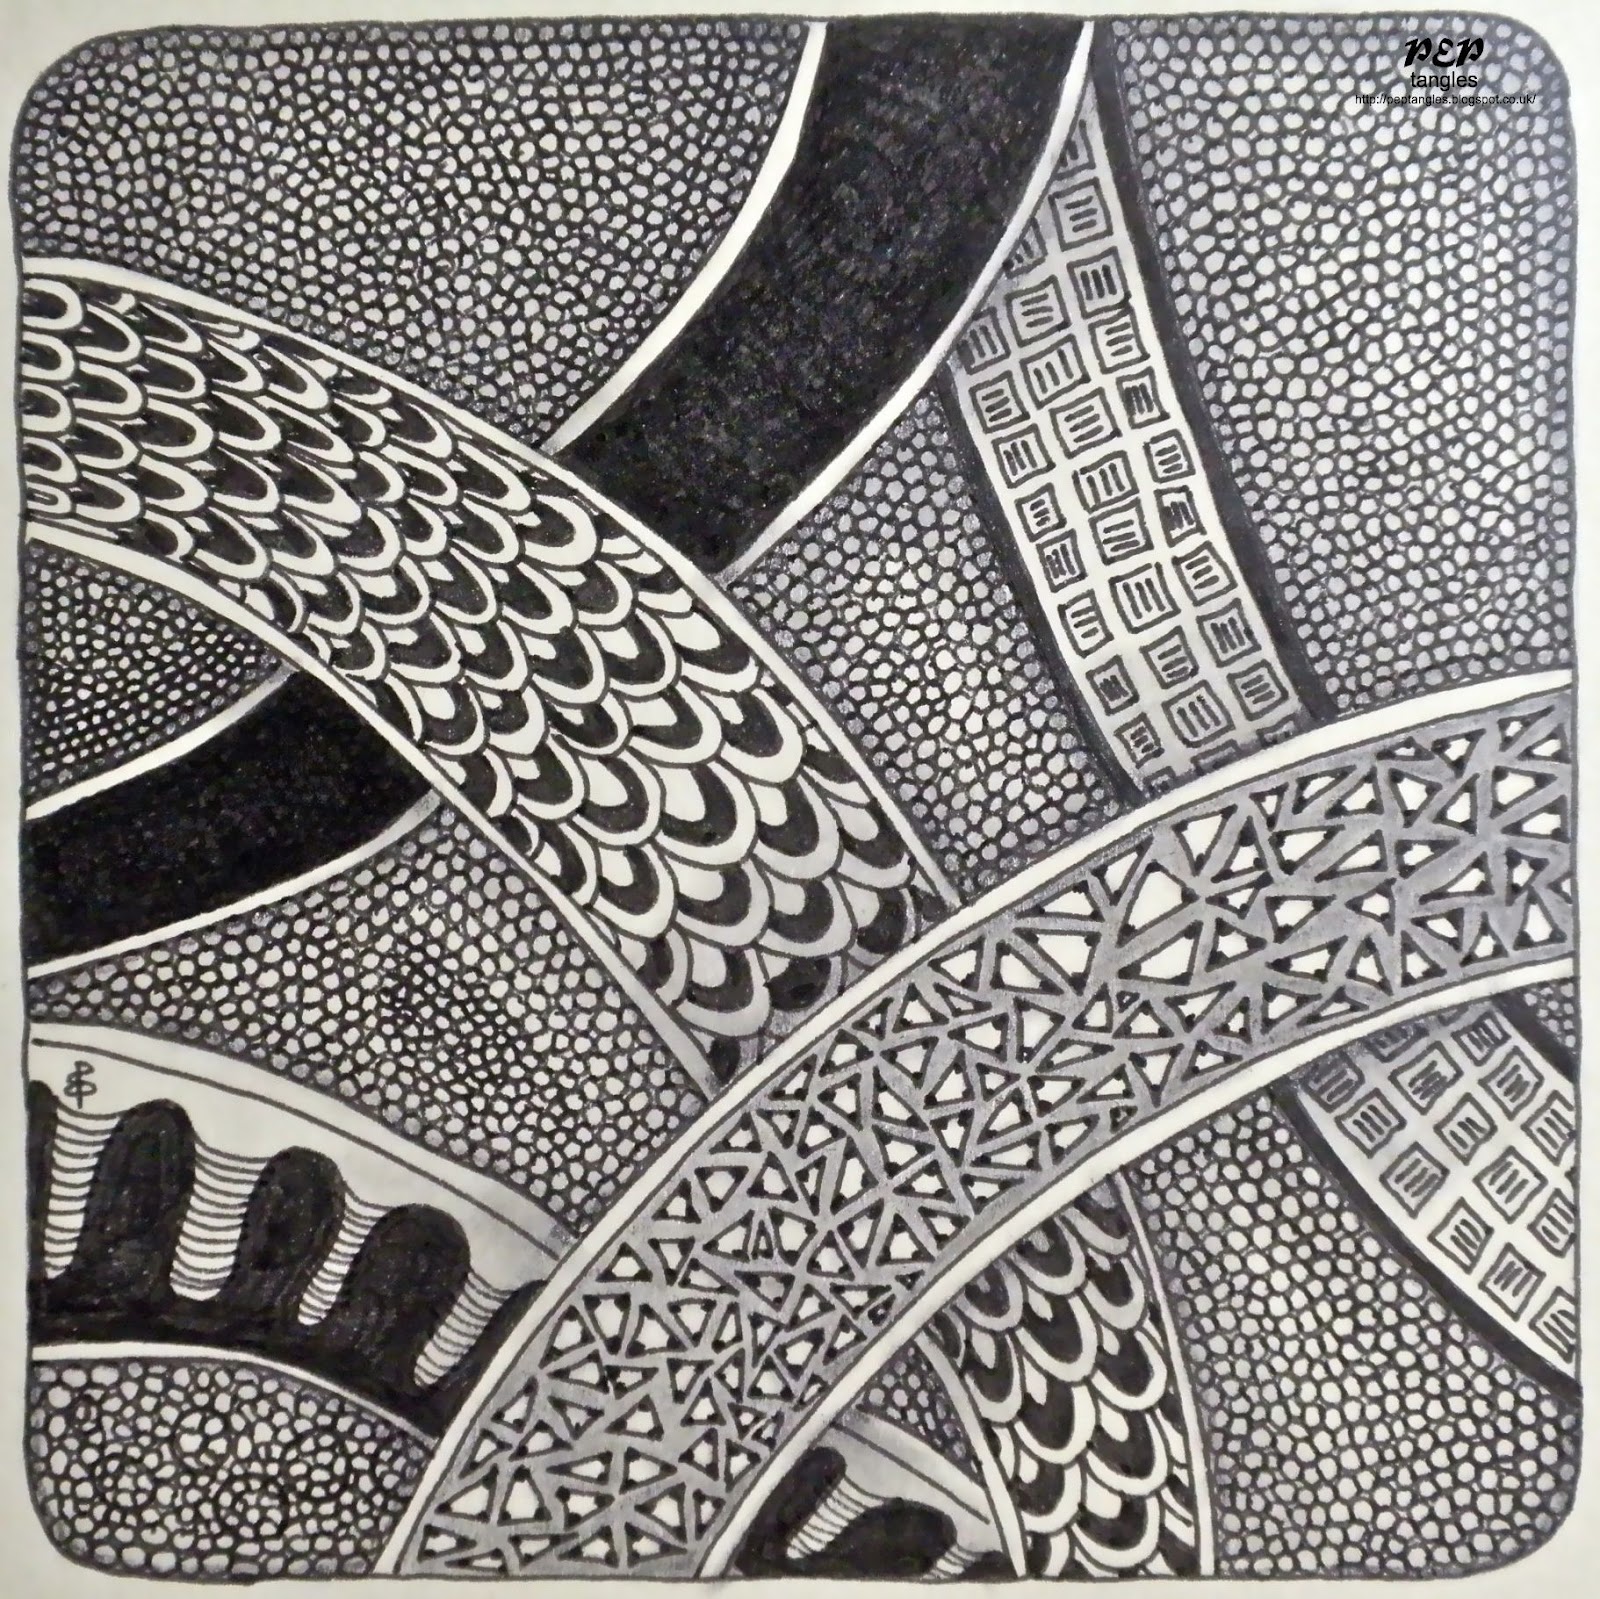
tangles: ??, Fescu, Floo, Flux, Fractal Tree, Ixorus (tangleation), Knightsbridge, Warped Eggs
neutral colour scheme on Daler-Rowney Langton 300gsm Hot Pressed Extra Smooth watercolour paper
tangled using Pigma Micron Pens 01 & 05 with White Pentel Hybrid Gel Pen highlights

Tombow Markers Salty Splash Background
tangles: Barberpole, Gust, Tipple
monochrome colours 
on Daler-Rowney Langton 300gsm Hot Pressed Extra Smooth watercolour paper
tangled using Blue Sakura Moonlight Gel Pen & White Pentel Hybrid Gel Pen

Tombow Markers Indirect Blending
(direct to paper used for central apricot section)
tangles: Astro, Barberpole, Fur Balls, Knightsbridge, Meer, Starbarz
analogous colours on Daler-Rowney Langton 300gsm Hot Pressed Extra Smooth watercolour paper

Impress Technique
tangles: Hollibaugh, Screen, Umble
monochrome colour scheme (Faber-Castell Polychromos pencils) on W H Smith 220gsm White Card

Monday, 15 October 2012

MCC All About Zentangle - Wk 3

Links: MCC (My Creative Classroom), Marie Browning

I have quite a few projects from the third week of the course when Marie introduced various ways of adding colour to tangles. Since there are too many to post at once I thought I’d post my final piece of artwork for that week first. It was actually supposed to be a Zentangle Inspired scrapbook page – I adapted the exercise somewhat & started by drawing & colouring the butterfly as my focal image & then constructed the rest around it – much the same as if I’d used a photograph for the focal image.


This has taken the best part of a week to draw, colour & assemble with plenty of learning experiences along the way as I’m not a person who can draw by instinct/naturally. 

Prior to this course I’ve not used Tombow pens & I discovered as I was initially trying to work on my favourite Winsor & Newton Cotman 190gsm Cold Pressed/NOT Grain Fin watercolour paper that the Tombows refuse to blend out smoothly when direct to paper watercolouring - a very visible hard line remains. On an earlier exercise where I’d not been shaping elements I’d used the more robust Daler-Rowney Langton 300gsm Hot Pressed Extra Smooth watercolour paper without the hard lines so I had to conclude that the different watercolour papers were having an impact upon the blendability.

The thick hot pressed paper doesn’t really respond very well to a ball tool for shaping but I eventually managed to shape my butterfly & petals without creasing by gently rounding them over several sizes of glue bottles & pencils.


angled view showing dimension of flower & butterfly
close-up showing detail & glittering of butterfly 
close-up showing lettering, bee & caterpillar

The project was drawn by hand using Sakura Pigma Micron Pens 01 & 05 onto a 9¾ x 7 inches piece of the Langton hot pressed watercolour paper & watercoloured with the Tombow markers using the direct to paper method. The butterfly’s body has been glittered using Stickles glitter glue & shaped as above.

Tuesday, 2 October 2012

MCC All About Zentangle - More Wk 2

Links: MCC (My Creative Classroom), Marie Browning

tangles: Chemystery, Coil,  Happy Dance, Tipple

In my final tile for the second week I wanted to experiment a little with the Coil tangle & to try some of the other tangles that Marie taught us. She also introduced us to a grid based tangle of her own called 'Happy Dance' which I was particularly keen to try as I'm rather partial to the grid format.

In my previous post I used TanglePatterns String 002 & I wanted to use that again as part of my contribution to the Chocolate Baroque Zentangle Group's current challenge theme based upon the word "Favourite." I have a particular liking for taking something - in this case it's the string & the Coil tangle - & exploring different aspects of it. The type of shading technique I used for the Chemystery tangle (top right) is rapidly becoming a favourite of mine & my liking for grids also make this tile a good illustration of the "Favourite" theme.

Sunday, 30 September 2012

MCC All About Zentangle - Wk 2

Links: MCC (My Creative Classroom), Marie Browning

In the second week Marie has been showing us the principles of shading & how to make a small wallet for keeping our tiles in.

I had to improvise a little making my wallet: I used coloured cardstock instead of double-sided patterned paper & a velcro strip instead of a Tombow Fastener Tab.


Through Marie's teaching I'm learning how varying the softness/hardness of the graphite pencil used gives different results when shading.  I've been quite astonished by how effective the graphite shading is in adding dimension & life to the tangles especially when combined with inked shading techniques (as in the Coil tangle around the Fishnet top right below).

tangles: Coil, Nzepple, Star Snail, Tipple, Triangles, Tripoli
I used TanglePatterns String 002

The full realization of this hit me when I set myself the task of using ONLY inked shading techniques in the next tile. I was rather suprised how difficult I found this to do for I kept reaching for the pencils & the limitation of using ink alone actually hampered me in my choice of tangles. Proof really to me that I'm not so frightened of pencil shading any more - a significant milestone to reach.

tangles: Crescent Moon, Cubine, Fricle, Knightsbridge, Msst, Skistel, Tipple

Wednesday, 26 September 2012

MCC All About Zentangle - More Wk 1

Links: MCC (My Creative Classroom), Marie Browning

Letters String
tangles: Crescent Moon, Florz, Poke-Root

Stencil String
tangles: Cadent, Chevron, Jester, Plum Leaf

Tangle (Umble) String
tangles: Feathers, Stepping Stones, Triangles, Wavy Border

I really don't like the next one at all. I should not have tried shading around the squares thinking I'd add some definition - firstly I don't think my Pigma Micron had dried enough before I used the paper stump & secondly I'm not sure that the shading shouldn't have been inside my squares. I was sorely tempted to take my eraser to all of the shading but kept thinking about there being no such thing as a mistake in the process of tangling. I also feared that I'd end up with something worse like a hole in my sketchbook page. I'm looking forward to learning about shading.

Repeating Shape String
tangles: Beadlines, Casella, Clothesline, Twisted Ribbons

Stamped Image String
tangles: Chevron, Fescu, Hollibaugh

I drew around chipboard letters for my initials, the stencil for drawing the pear is Dreamweaver & the flower stamp is Chocolate Baroque UA4SP0146 Big Flowers.

Sunday, 23 September 2012

MCC All About Zentangle - Wk 1


I've learnt so much through participating in the MCC classes with Glenda Waterworth of Chocolate Baroque so when I was notified of a new course "All About Zentangles" being taught by Marie Browning (the author of Time to Tangle with Colors) I enrolled.

As always the assignments for each week are entirely optional but I thought I'd include what I am choosing to do for my 'homework' projects here. Except where it's impractical (as with the Tangle Catcher) I'm actually using a Moleskine sketchbook in the Large Format to work in. This was quite daunting for the little chattering perfectionist imp but when she's threatened with me using my left hand for tangling she keeps quiet - she's already endured one such project.

First Tile
tangles: Knightsbridge, Nekton, Printemps, Tipple

Tangle Catcher
drawn using non-dominant left hand

Windspinner Tangle
I have no idea whether this is a new tangle pattern or not but I was intrigued by Laura Harms' Pinwheel Challenge this week & decided it must be possible to actually draw one of those pinwheel shapes - this is what I came up with.

Two-Pencil String
tangles: Knightsbridge & tangleations

Saturday, 15 September 2012

A tangle I wasn't going to bother with......

.... but my husband liked it.

I'd intended to tangle all the areas inside the knotwork using Tagh but decided that my grid was so uneven that I'd fill them completely with black instead. The tile was lying unfinished when my husband saw it & suggested I not do anything more, except post it to my blog. That really silenced the perfectionist imp chattering in my ear & all I added was my signature & date. The little creature is still sulking trying to fathom why the Triquetra points aren't equidistant from the tile's edges when the compass point started off at the tile's centre (I measured it).

tangles: Peaks Border tangleation

Margaret Bremner (see her blog for some very informative posts about knotwork & illustrations of how she incorporates tangles with them) & Judy West's recent knotwork patterns have rekindled a rather dormant liking for Celtic knotwork, particularly Margaret's post making connections with Runestones. I remember seeing Runestones as a child in Sweden but it's only now that I'm realizing that knotwork features in my own Scandinavian roots. I ended up watching a number of YouTube tutorials* & when I had to spend some time in bed this week worked with a compass to draw the above Triquetra knot with a circle. I actually set out to to tangle the knotwork with the Peaks Border pattern but that morphed into a tangleation.

*YouTube Tutorial Links
How to Draw the Ancient Celtic Symbol TRIQUETRA freehand drawing based upon a triangle suggested to me by Margaret Bremner
Brendan Hollandsworth - Triquetra (Trinity Knot) using a compass to give the knotwork design I used above
Jason Bellchamber - Celtic Triskele freehand drawing based upon a triangle
Jason Bellchamber - Perfect Triskele (positive) using a compass